Run Rust in electron

Quick start
If you want to start exploring rust and electron, just create a project from my fork of the electron_boiler_plate project by clicking

Clone the repo you just created and run the following commands:
$ yarn
$ wasm-pack build src/simple-webassembly/
$ yarn start
And the app will start.
For a more detailed installation guide keep reading …
Why
On tinkering with electron to get a grasp on that technology, my first attempt was how to move the logic part to rust. Using webassembly (wasm) was my first choice, so after a quick web search I stumbled across this post by Anshul Goyal.
Though it helped me by pointing out the used basic technologies I still needed quite some time to get it running, partly because there has been a breaking change and partly because the blog post skipped some steps and was missing a github repo to look up the missing information. On getting it to run on my side I was reminded of the “How to draw an owl” meme (reddit):

So I decided to add a step-by-step guide. I will not go deep into details and focusing more on a reproducible guide to follow through.
Prerequisites
To follow on with the next steps you’ll need to have rust and yarn installed. This is how you check your versions plus the versions used on creating this post:
$ cargo --version
cargo 1.53.0 (4369396ce 2021-04-27)
and
$ yarn --version
1.22.10
As an editor I am using VSCode on Ubuntu.
Setting up electron from boilerplate
To get started, just clone the Electron boiler plate project to your PC.
$ git clone --depth 1 --single-branch https://github.com/electron-react-boilerplate/electron-react-boilerplate.git elec_wasm
$ cd elec_wasm
$ yarn
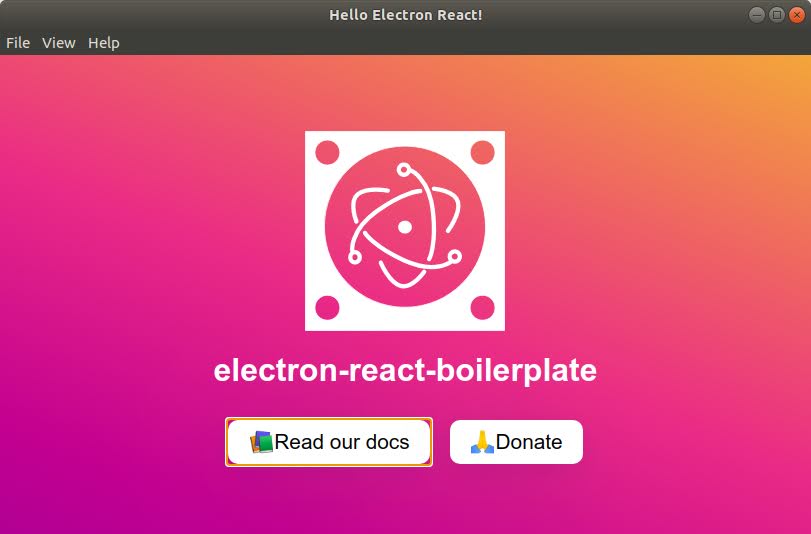
On starting the application by typing yarn start you should see something like this:

Hooray!
Creating your WebAssembly
In order to execute your rust code you’ll need to pack it into Webassembly. Fortunately, wasm-pack will do this for us. Following the installation guide:
curl https://rustwasm.github.io/wasm-pack/installer/init.sh -sSf | sh
will add wasm-pack tp your system.
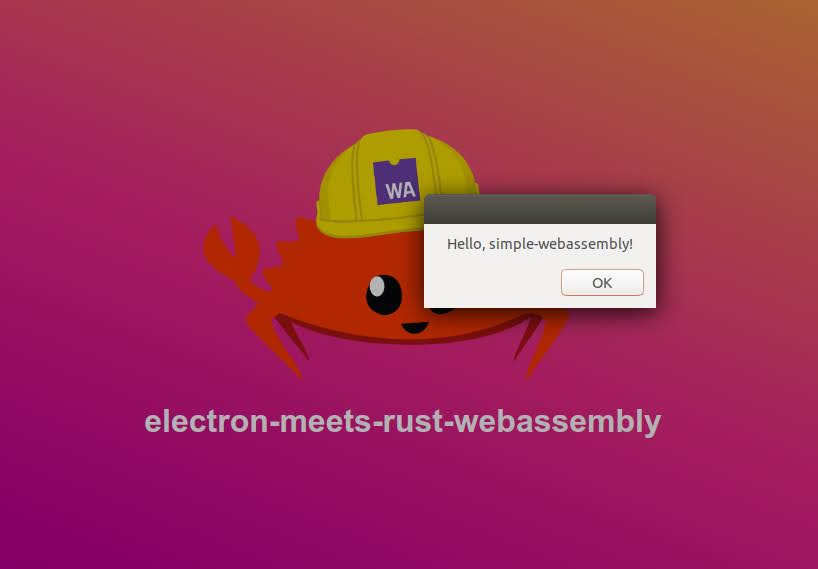
You shall be able to set up a Hello world project, which will open an alert window on calling greet from your electron app.
wasm-pack new simple_webassembly
For this demo, I just ran that command inside the src folder of the electron app.
Calling
wasm-pack build
in the simple_webassembly folder will generate your webassemlbly into the pkg folder.
Adding webassembly to your electron app
Before you can run wasm in your app you need to enable that. First you need to install it via yarn:
yarn add webassembly
yarn install
yarn upgrade
Secondly you need to add webassembly as an experimental feature to your webpack config as a breaking change has been introduced between v4 and v5.
In order to activate this feature add this line:
experiments: {
    asyncWebAssembly: true
  },
to .erb/configs/webpack.config.base.js.
Now we’re set up to finally combine our app and our webassembly.
To verify that our webassembly works, just replace our code in src/App.tsx:
import React from 'react';
import { BrowserRouter as Router, Switch, Route } from 'react-router-dom';
import icon from '../assets/icon.png';
import './App.global.css';

const Hello = () => {
  return (
    <div>
      <div className="Hello">
        <img width="400px" alt="icon" src={icon} />
      </div>
      <h1>electron-meets-rust-webassembly</h1>
    </div>
  );
};

export default function App() {
  import('./simple-webassembly/pkg/simple_webassembly')
    .then((module) => module.greet())
    .catch((error) => {
      console.error(error);
    });

  return (
    <Router>
      <Switch>
        <Route path="/" component={Hello} />
      </Switch>
    </Router>
  );
}
One last time yarn start and enjoy the profit:

Conclusion
Following the above mentioned steps you shall be ready and set to get your rust code running in your electron app. As easy as setting up the the webassembly using wasm-pack was, the process of loading it into electron was somehow counter-intuitive and required some tinkering.
As a next step I will try to get some performance insights comparing native js code vs. webassembly.